Manage clients
1. Creating a new client
Steps to Create a Client Account
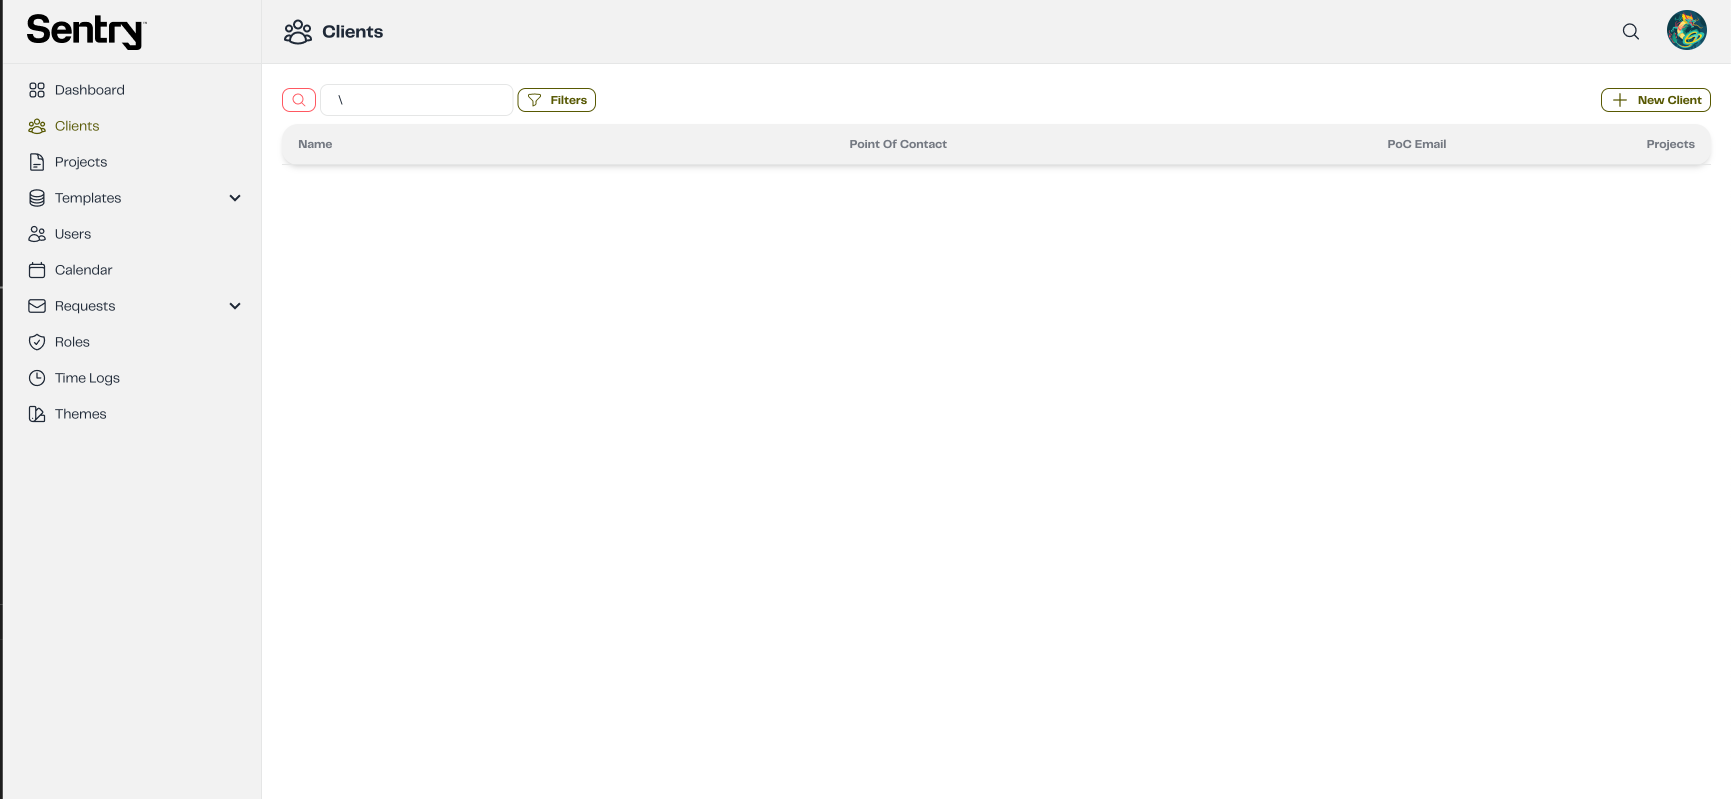
Step 1: Navigate to the Client Section
As an administrator, go to the Client section from the left sidebar and click New Client:
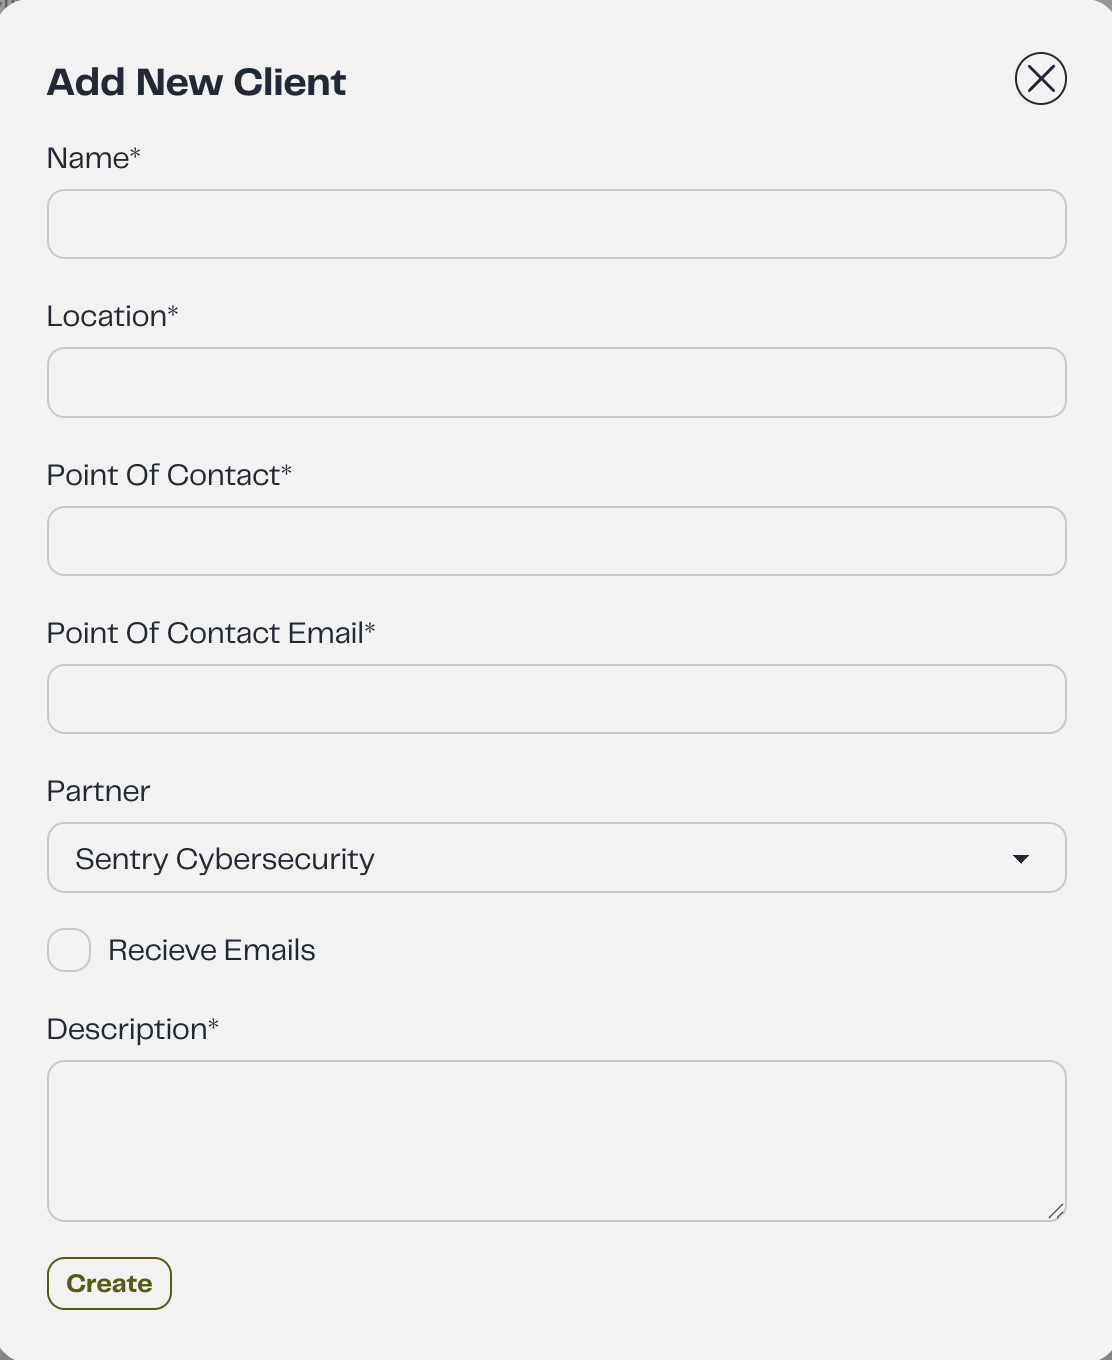
Step 2: Enter Client Details
Please complete the required fields, including Name, Location, Point of Contact and Point of contact Email, and assign this client to a Partner and then click Receive Emails. (Tick the Receive Emails field if you want to add Email Recipients.) The Email Recipients field should include the client's email addresses, where they will receive emails from Dossier. Finally, enter the Description and click Create.
Email Notification
Be cautious when adding email addresses to the Email Recipients field, as these addresses will be used to send email notifications from the application. Make sure the correct client email addresses are included to avoid sending notifications to the wrong recipients.
2. Updating a client
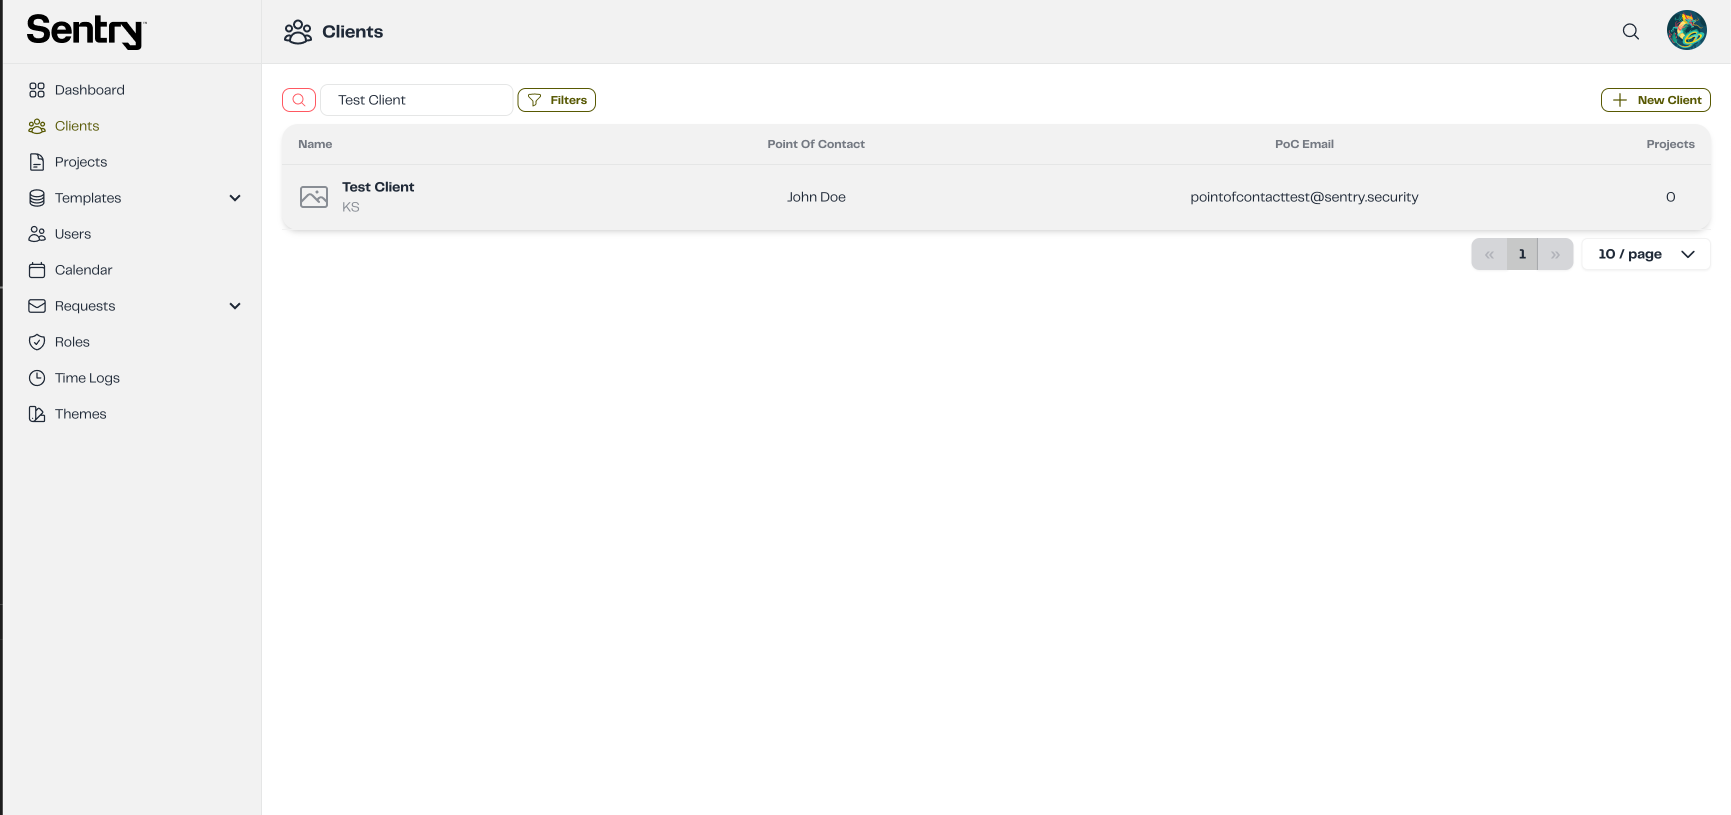
Step 1: Go to the Client Section and find the desired client.
Step 2: Click on the client's row in the table.
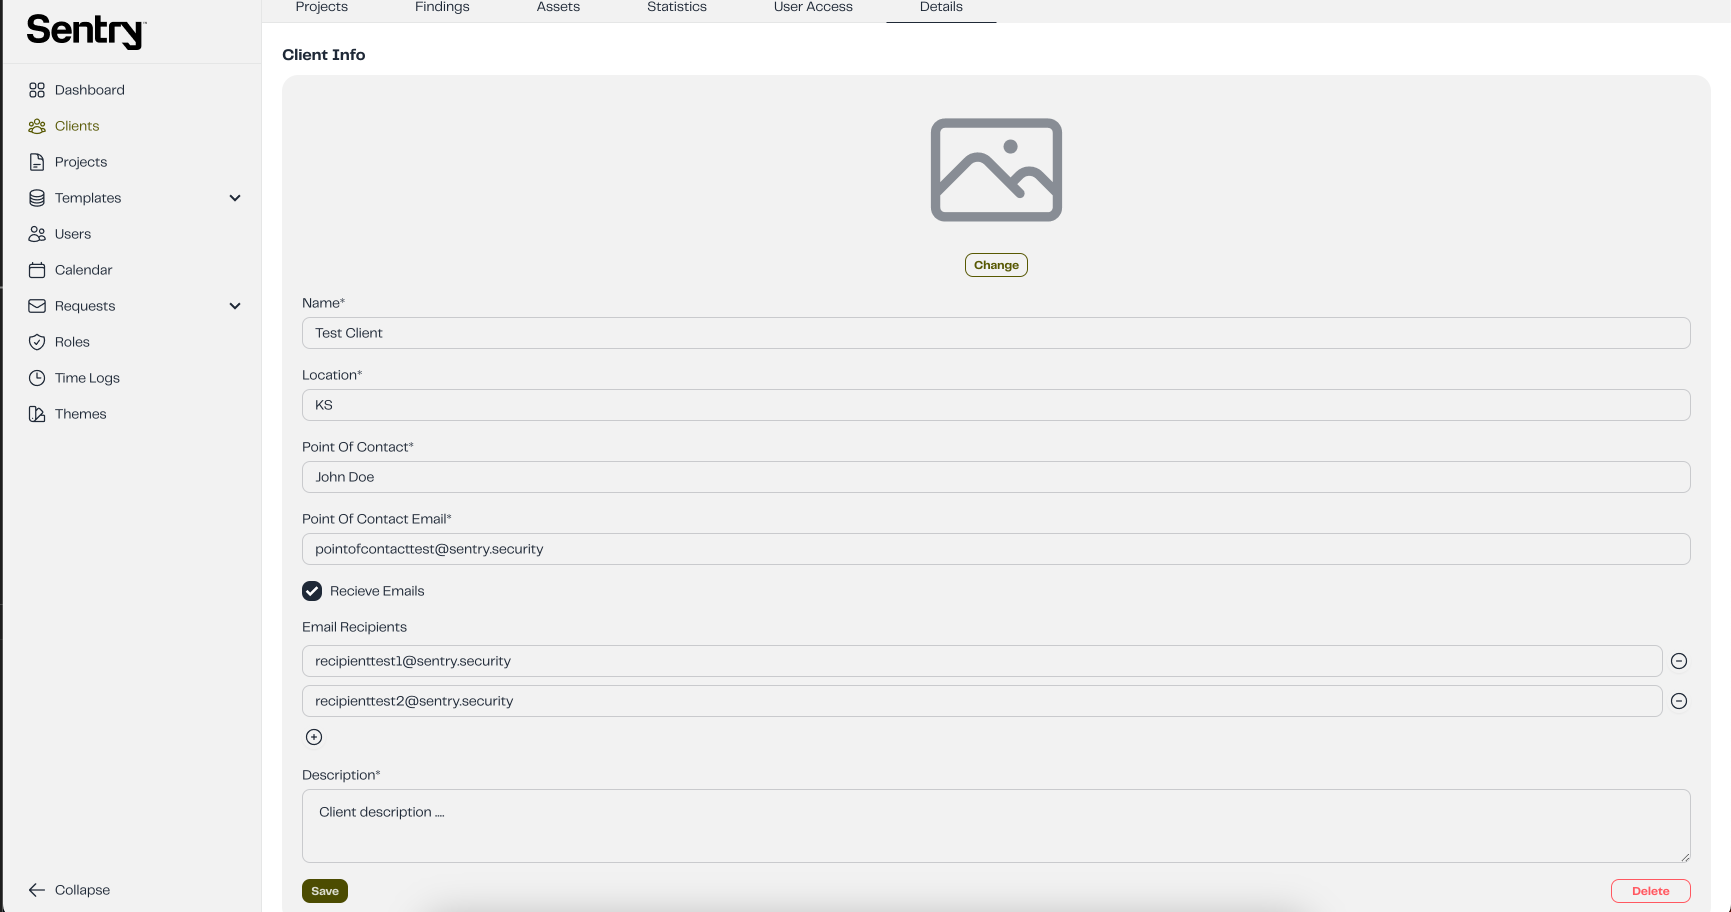
Step 3: Navigate to the Details tab.
Step 4: Update the necessary fields. You can also add or update the client’s image. Once done, click Save to store the changes.
2. Deleting a client
Step 1: In the Details tab, click the Delete button.
Step 2: A confirmation popup will appear, as shown in the image below:
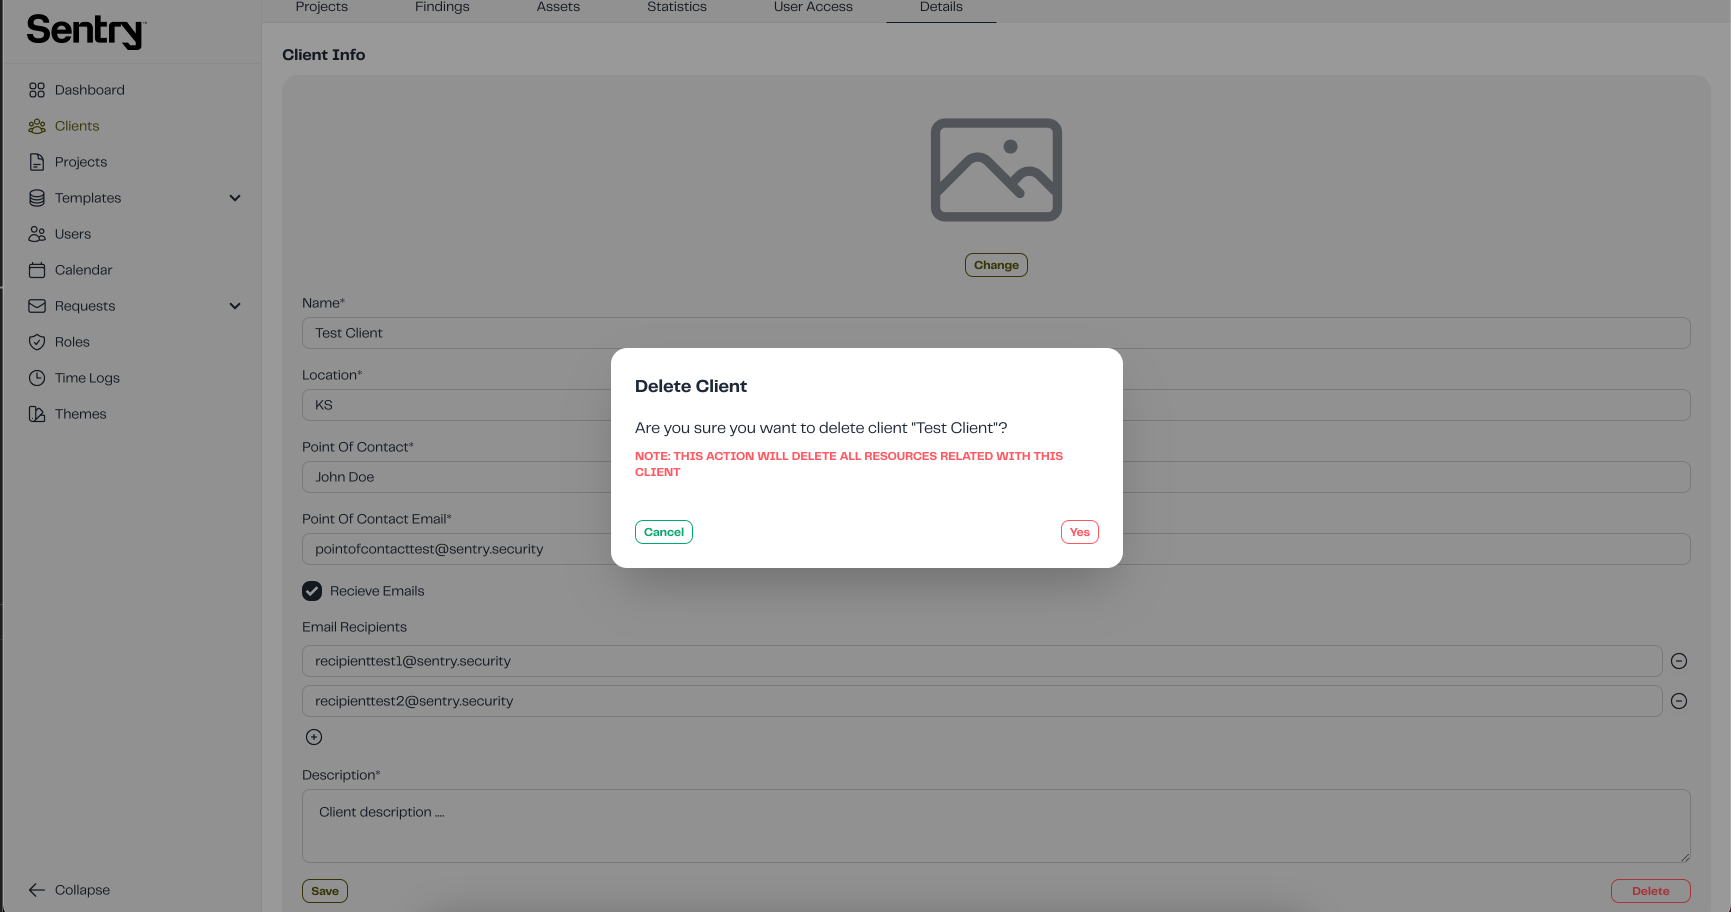
Step 3: Click Yes to confirm the deletion or Cancel to abort the action.